What Happens During a Dry Rot Inspection on the Central Coast?
A dry rot inspection helps homeowners understand whether visible damage is cosmetic or structural—and how far decay may have spread behind the surface. This article explains what happens during a professional dry rot inspection on the Central Coast, what areas are evaluated, what homeowners can expect to receive, and how inspections help guide smart repair decisions.
May 5, 2025
6 min read
What Happens During a Dry Rot Inspection on the Central Coast?
Dry rot is often misunderstood because it rarely starts where you can easily see it. Homeowners may notice peeling paint, cracking trim, or soft wood, but the real concern is what’s happening beneath the surface. A professional dry rot inspection is designed to answer one key question: Is this a minor issue, or is there deeper structural damage?
For Central Coast homes, inspections are especially important due to coastal moisture, fog, and salt air that accelerate wood deterioration.
Why a Professional Dry Rot Inspection Matters
Many homeowners try to assess rot themselves, but dry rot often spreads internally before becoming visible. Surface-level repairs or repainting without inspection can allow decay to continue unnoticed.
A professional inspection helps:
Identify hidden damage
Determine whether rot is cosmetic or structural
Locate moisture entry points
Prevent unnecessary or incomplete repairs
An inspection provides clarity before committing to any work.
Common Areas Evaluated During a Dry Rot Inspection
A thorough dry rot inspection focuses on high-risk areas where moisture intrusion is most likely.
These typically include:
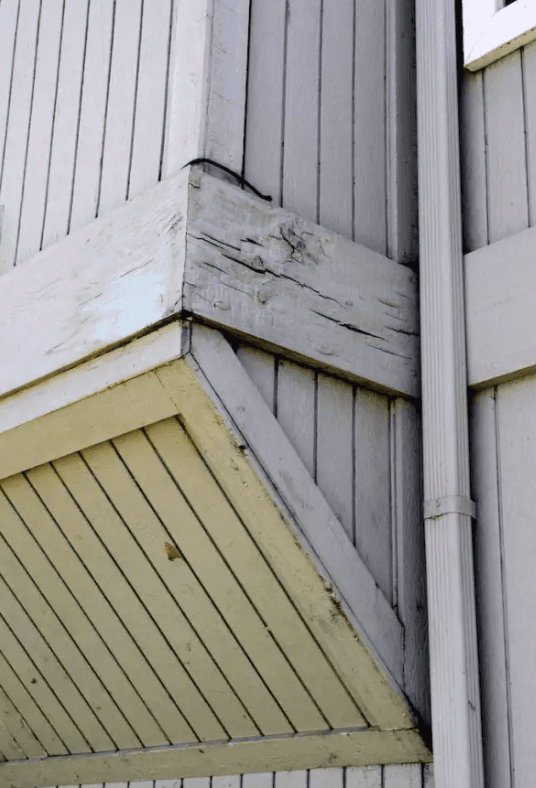
Fascia boards and roof edges
Exterior trim and trim corners
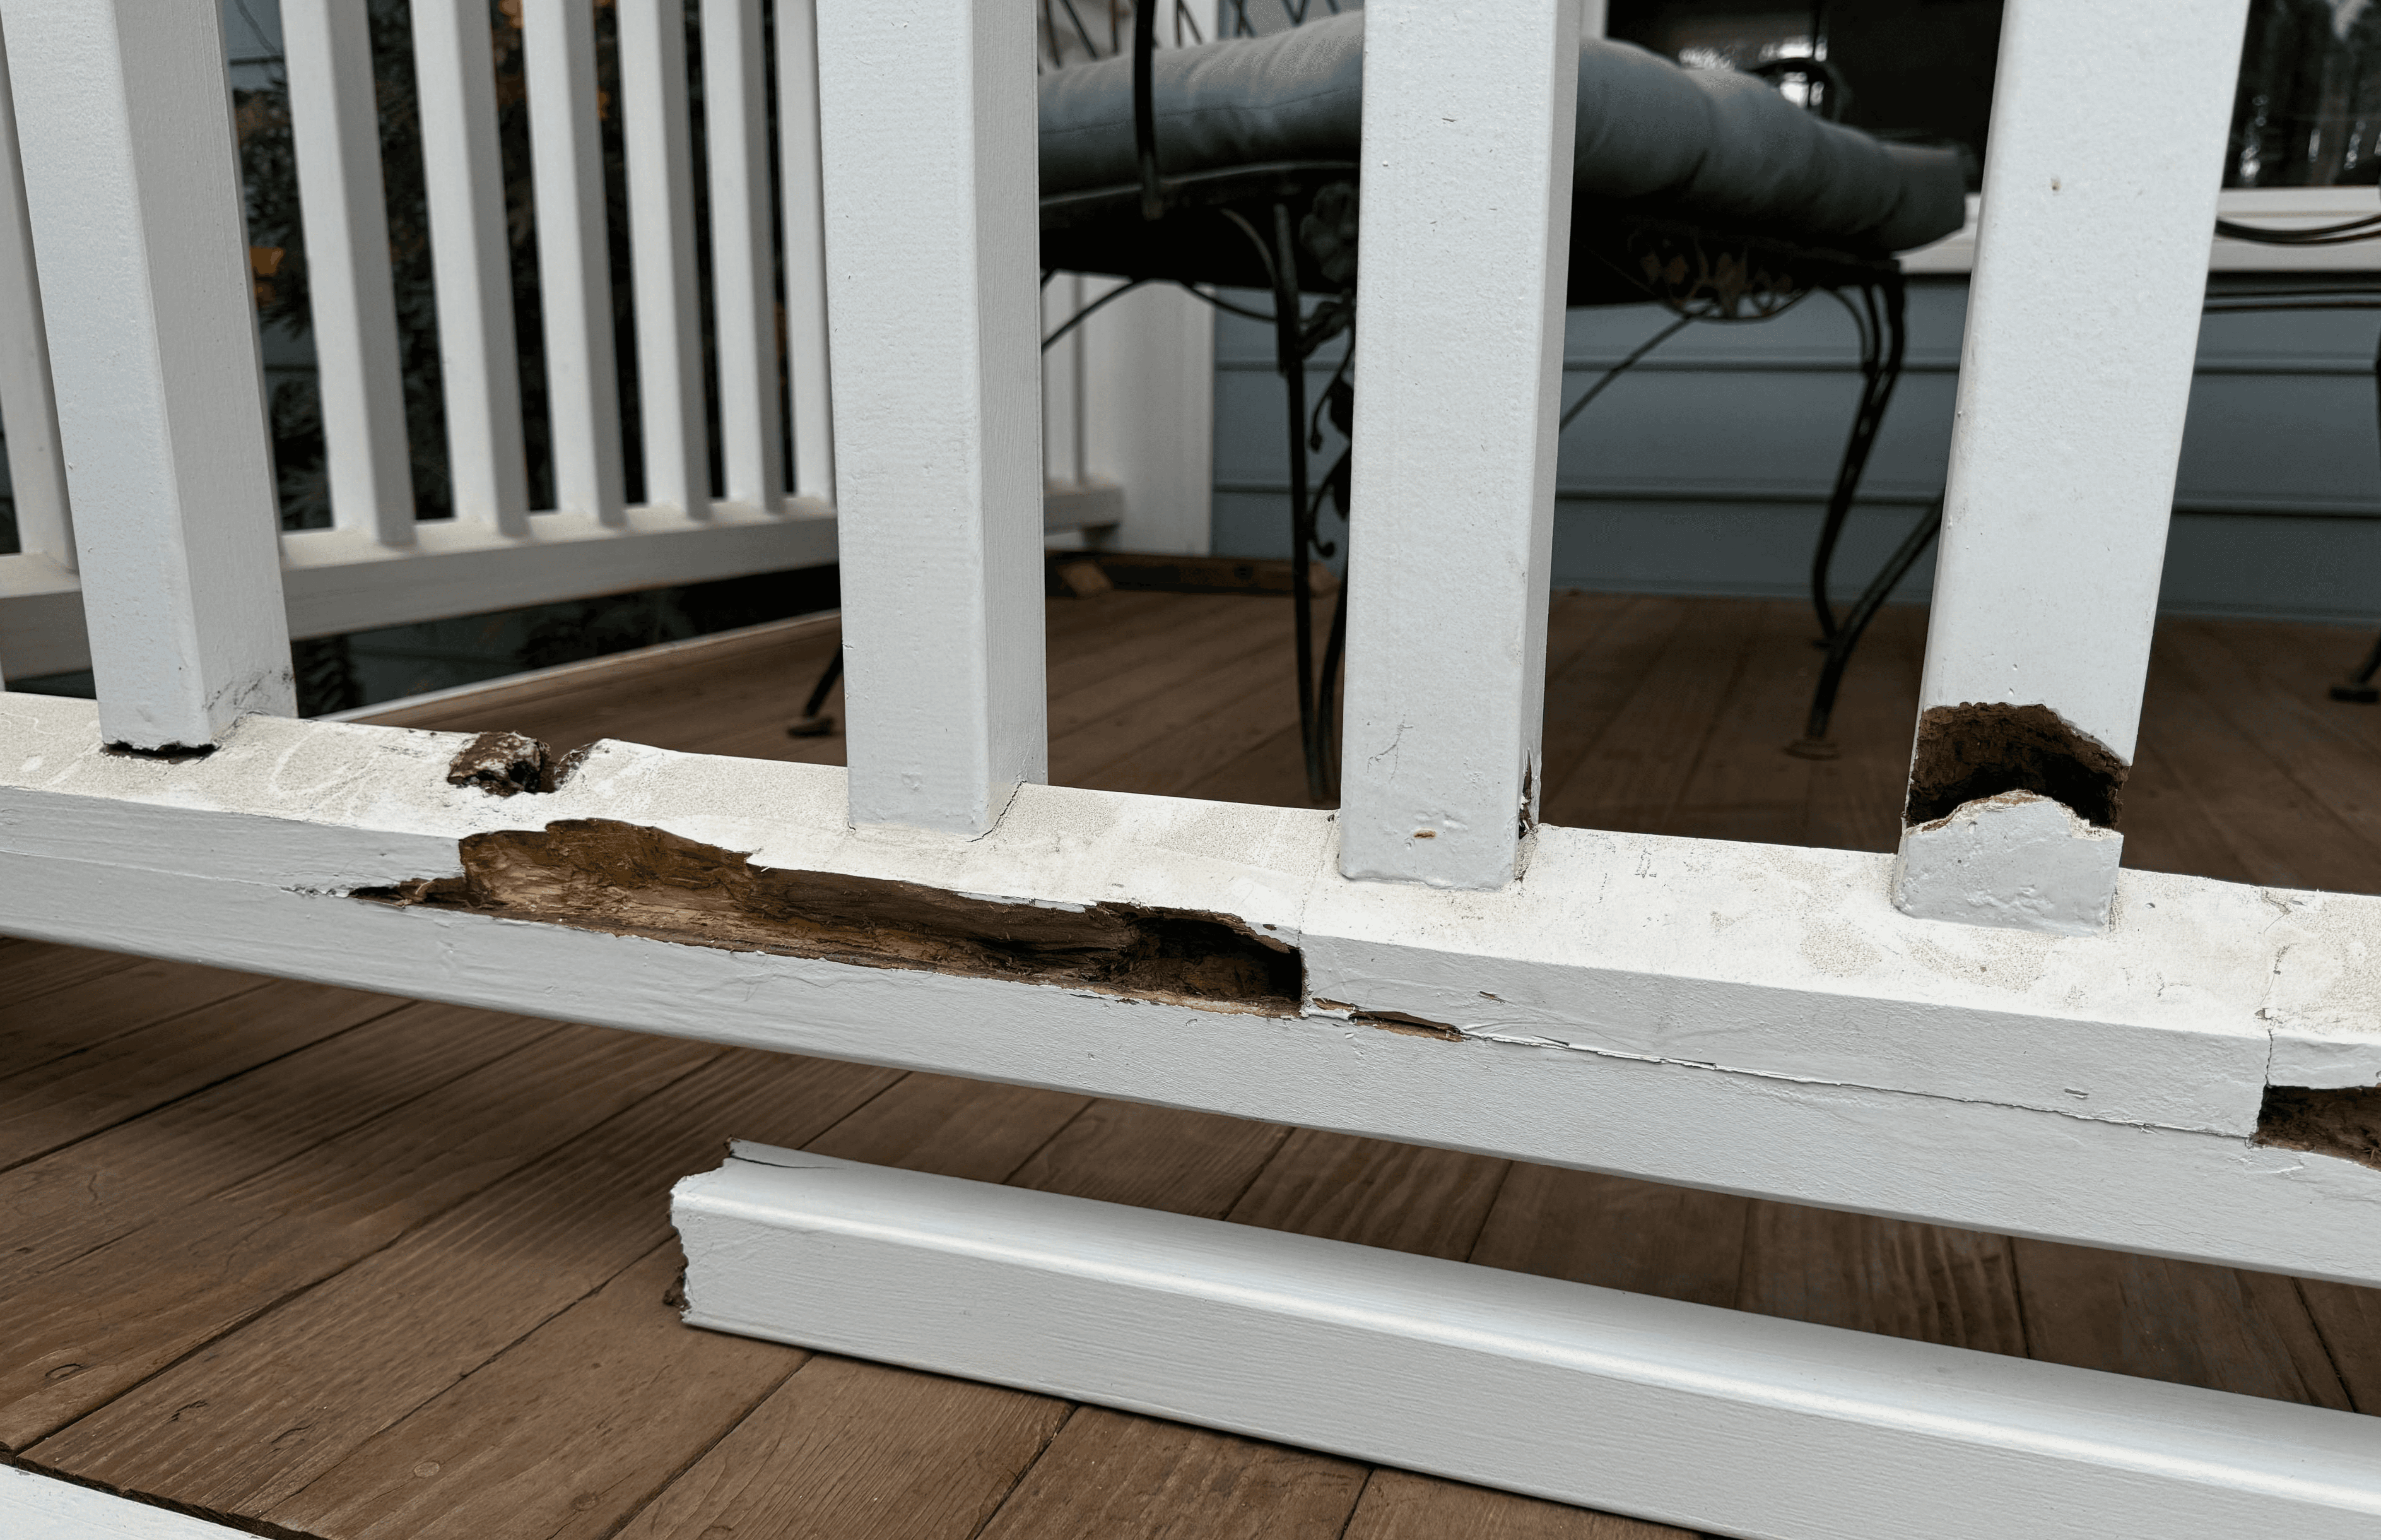
Deck posts, beams, and railings
Stair stringers and landings
Door and window sills and transitions
Inspectors look for visual indicators as well as subtle signs that require hands-on evaluation.
How Inspectors Assess Dry Rot
During an inspection, professionals use a combination of visual assessment and physical probing to evaluate wood condition.
This may include:
Checking for softness, cracking, or separation
Probing suspect areas to test structural integrity
Identifying staining or discoloration linked to moisture
Evaluating flashing, sealants, and drainage details
The goal is to determine not just where rot exists, but why it developed.
What Homeowners Receive After an Inspection
A proper dry rot inspection should leave homeowners with a clear understanding of their situation.
Typically, this includes:
Photo documentation of affected areas
Explanation of findings in plain language
Identification of moisture sources
Repair recommendations based on severity
This information allows homeowners to make informed decisions rather than reacting out of fear or uncertainty.
Inspection vs. Repair: Why the Order Matters
One of the most common mistakes homeowners make is repairing visible damage without understanding the full scope of the problem. Without an inspection, repairs may address symptoms but not causes.
An inspection-first approach ensures that:
Repairs are appropriately scoped
Moisture issues are corrected
Long-term durability is prioritized
This approach often reduces total repair costs and prevents recurring issues.
When Should You Schedule a Dry Rot Inspection?
Consider scheduling an inspection if you notice:
Peeling or bubbling paint
Soft or crumbly wood
Loose railings or trim
Cracks at joints or corners
Persistent moisture near wood components
Early inspection can prevent small issues from becoming major repairs.
Final Thoughts
A dry rot inspection provides clarity, not pressure. For Central Coast homeowners, it’s the smartest first step when rot is suspected. Understanding what’s happening behind the surface helps guide the right repair decisions—and protects your home in the long run.
If you’re unsure whether you’re dealing with dry rot, a professional inspection can provide the answers you need.
Join the newsletter
Be the first to read our articles.
More Articles